The row and stack blocks are significant design components that can be used interchangeably in the WordPress Full Site Editing system’s site and template editor, as well as its page or post editor. With the help of the WP Stack Block, you can add any sort of block and display it vertically to easily build gorgeously appealing layouts.
Blocks can be arranged horizontally into rows. Using this is comparable to using the columns block, however the column’s automatic size adjustment is not present. This can be used for a multitude of purposes in both your layouts and your content posts and pages.
Blocks can be arranged vertically using stacks. To offer different sorts of content to your viewer, you can group and arrange them using stacks and rows.
How to Include a WP Stack Block in Your Template
The use of a row or stack is quite easy. Simply place the design block in front of the set of blocks you’re intending to arrange in a row or stack.
Step 1 : Open the WordPress Administrator Dashboard and log in.
Step 2 : Edit an existing one, or create a new post, page, template, or template part.
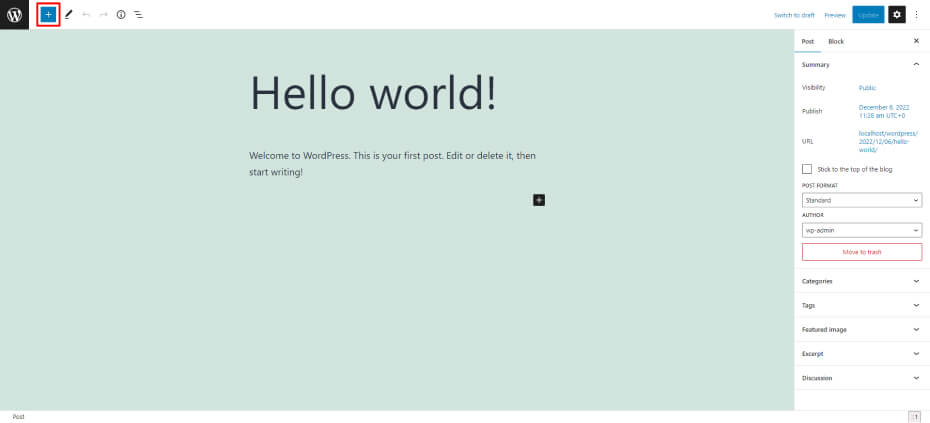
Step 3 : Toggle the block inserter on or off by clicking the plus sign to add a block or to add a row block (blue button in the top left corner).
Step 4 : Enter “row” in the search box or choose row from the Design section by scrolling down.
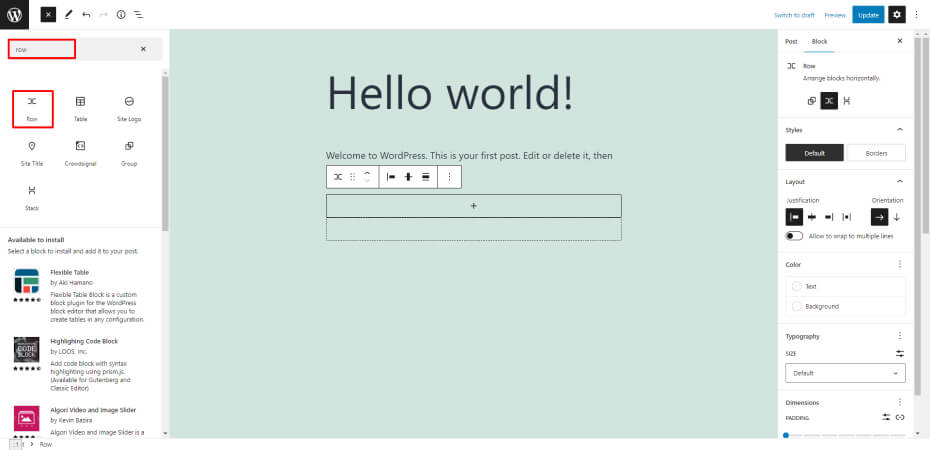
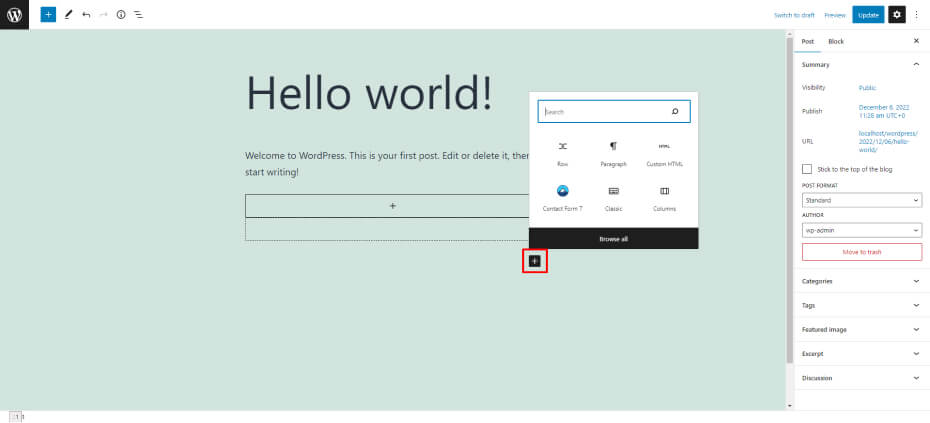
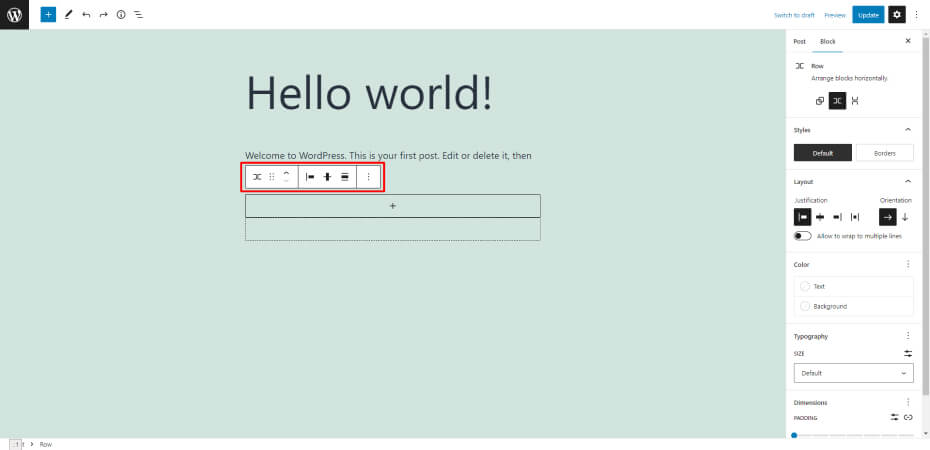
Step 5 : We’ll include the row block. Click on the plus sign in the first block of your row to add more blocks, and then choose the appropriate block type.
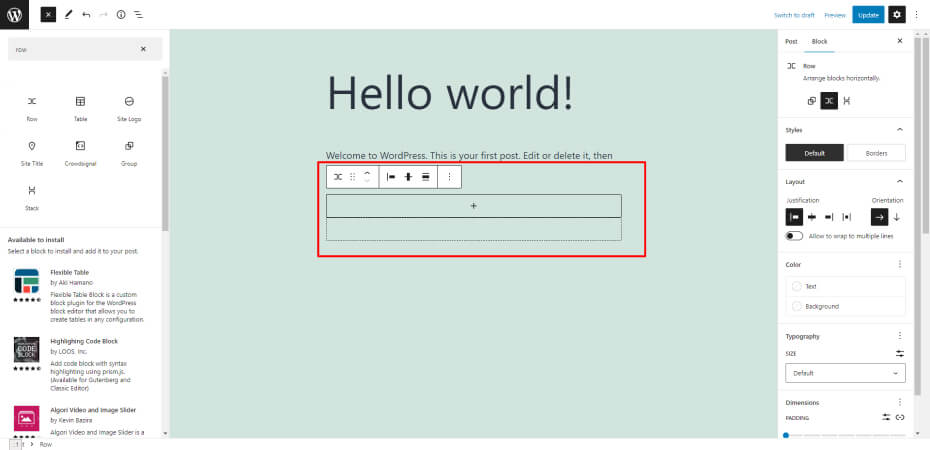
Step 6 : Click the plus sign in the row to add more blocks. In the image below, you can see the plus sign. In the list view, you can also pick Insert after by clicking on the three vertical dots (after the first block) and adding a block to that row.
Step 7 : At the top right corner of your editor, click the save choices. You will be asked by the site editor to validate the information you are saving. Simply confirm by clicking the blue Save button one more. You can choose to Save Draft, Publish, or Edit your post using the editor.
Also Read: How can the admin area default to showing only published posts?
Options & Settings for Stack Blocks
The WordPress Stack Block has two settings groups: toolbar and other options. To help you understand how to use each category, let’s go through it in detail.
- Transform to : The Stack Block can be transformed into a quote, unwrapped (ungrouped), columns, or a cover block with this option.
- Drag : Provide you with the option to either move your block to a different position on the page.
- Move arrows : Provide you the option of moving your block up and down using the move arrows.
- Justification : The justification of the blocks inside the stack is managed by the Justification option in the toolbar settings. The options for alignment are left, center, or right.
- Alignment : Although the breadth of the stack is controlled by this parameter, alignment is not always. If you set it to None, the stack and any internal blocks will be permitted to occupy a maximum of 650px. Wide width will give the stack 1000 pixels.While Full width will fill the entire page with the WP Stack Block and all internal blocks.
- More options : There are more possibilities in the final category of toolbar settings. You have the option to clone, duplicate, insert, move, lock, group, remove, or make reusable blocks inside of it.
Setup Options for Stack Blocks
In addition, the WP Stack Block has a lot of extra parameters.
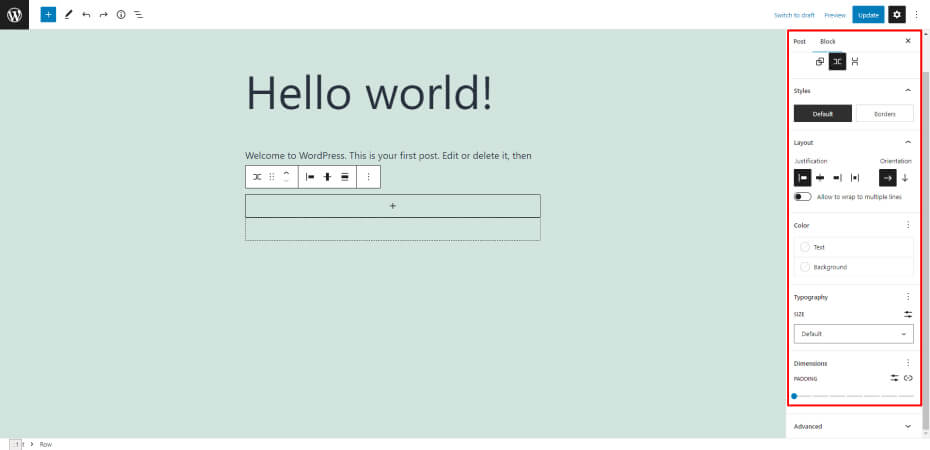
- Layout : You can choose whether or not the blocks within the stack are permitted to wrap to several lines in the Layout settings, as well as how the stack is justified and oriented. Right, center, and left are all possible justifications. Both horizontal and vertical orientations are available for them.
- Color : The color of the text on each block added into the stack will depend on the choice of text color made there. On the other hand, if you select a backdrop color, it will just color the stack itself, not the items within of it. Last but not least, any links inserted within the Stack Block are controlled by link color settings.
- Typography : Any block added into the Stack that contains text can have the font size, look, line height, letter spacing, text ornamentation, and letter case customized.
- Dimension : Padding around the Stack is something you can manage. Padding for the top, left, bottom, and right can be adjusted collectively or separately. All of the blocks in the stack’s composition can also have their block spacing adjusted.
- Border : You can give the Stack a boundary and/or a border radius using the Border settings.
Conclusion
Starting with adding structural components like rows and columns can help you build a WordPress website. Using the pre-built settings in the toolbar and sidebar block settings, you can quickly configure the block to assist you in designing a page in WordPress. A row of text that is oriented vertically rather than horizontally can be easily added with the WP Stack Block.
Author
Jayesh Patel
Jayesh Patel is a Professional Web Developer & Designer and the Founder of InCreativeWeb.
As a highly Creative Web/Graphic/UI Designer - Front End / PHP / WordPress / Shopify Developer, with 14+ years of experience, he also provide complete solution from SEO to Digital Marketing. The passion he has for his work, his dedication, and ability to make quick, decisive decisions set him apart from the rest.
His first priority is to create a website with Complete SEO + Speed Up + WordPress Security Code of standards.